Did you know you can make your own maple syrup? All it takes is the right tools, temperatures, time and effort!
Attend one of our upcoming “It’s Maple Syrupin’ Time” programs or our Maple Syrup Festival on Saturday or Sunday, March 26 or 27 to learn more about the process.
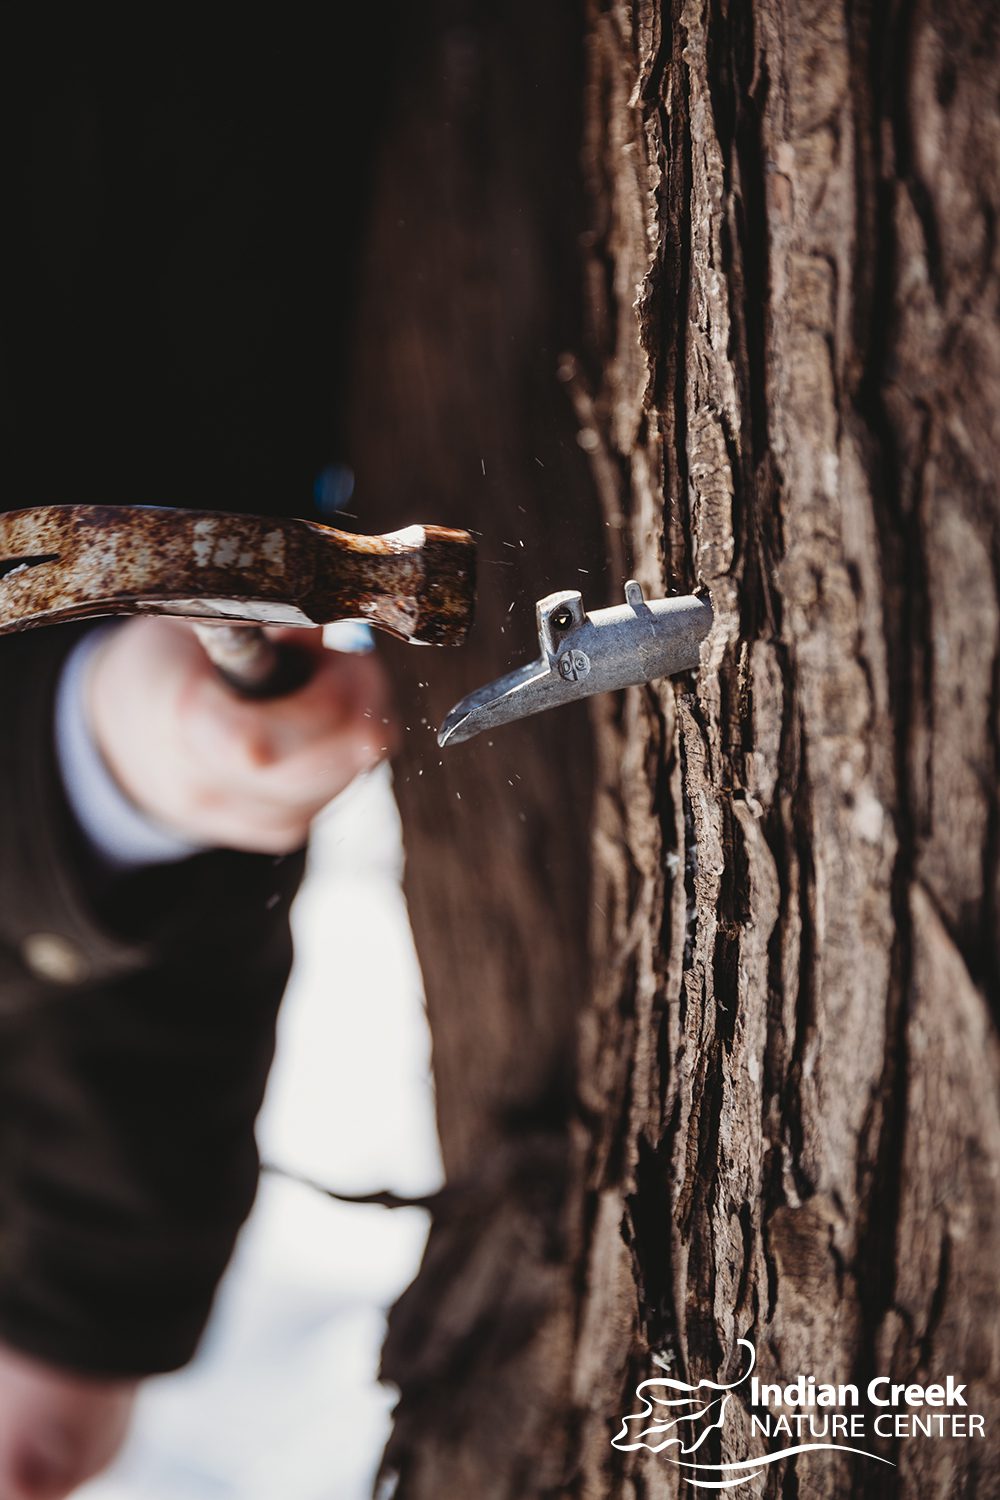
What you’ll need:
- Drill with a 7/16th drill bit (or size compatible with spiles)
- A way to measure the tree width so you can confirm how many taps it could take
- A small picking device to get the unwanted sawdust from the tap holes (a small stick could suffice)
- Spiles
- Buckets or bags (5 gallon bucket)
- Hammer
- Tubing (optional)
- Large outdoor turkey fryer
- Propane
- Skimming device
- Cheese cloth (any clean cloth would do)
- Ladle
- Candy thermometer and hydrometer
- Stove with large pot
- Storage containers
Step one: Identifying Maple trees
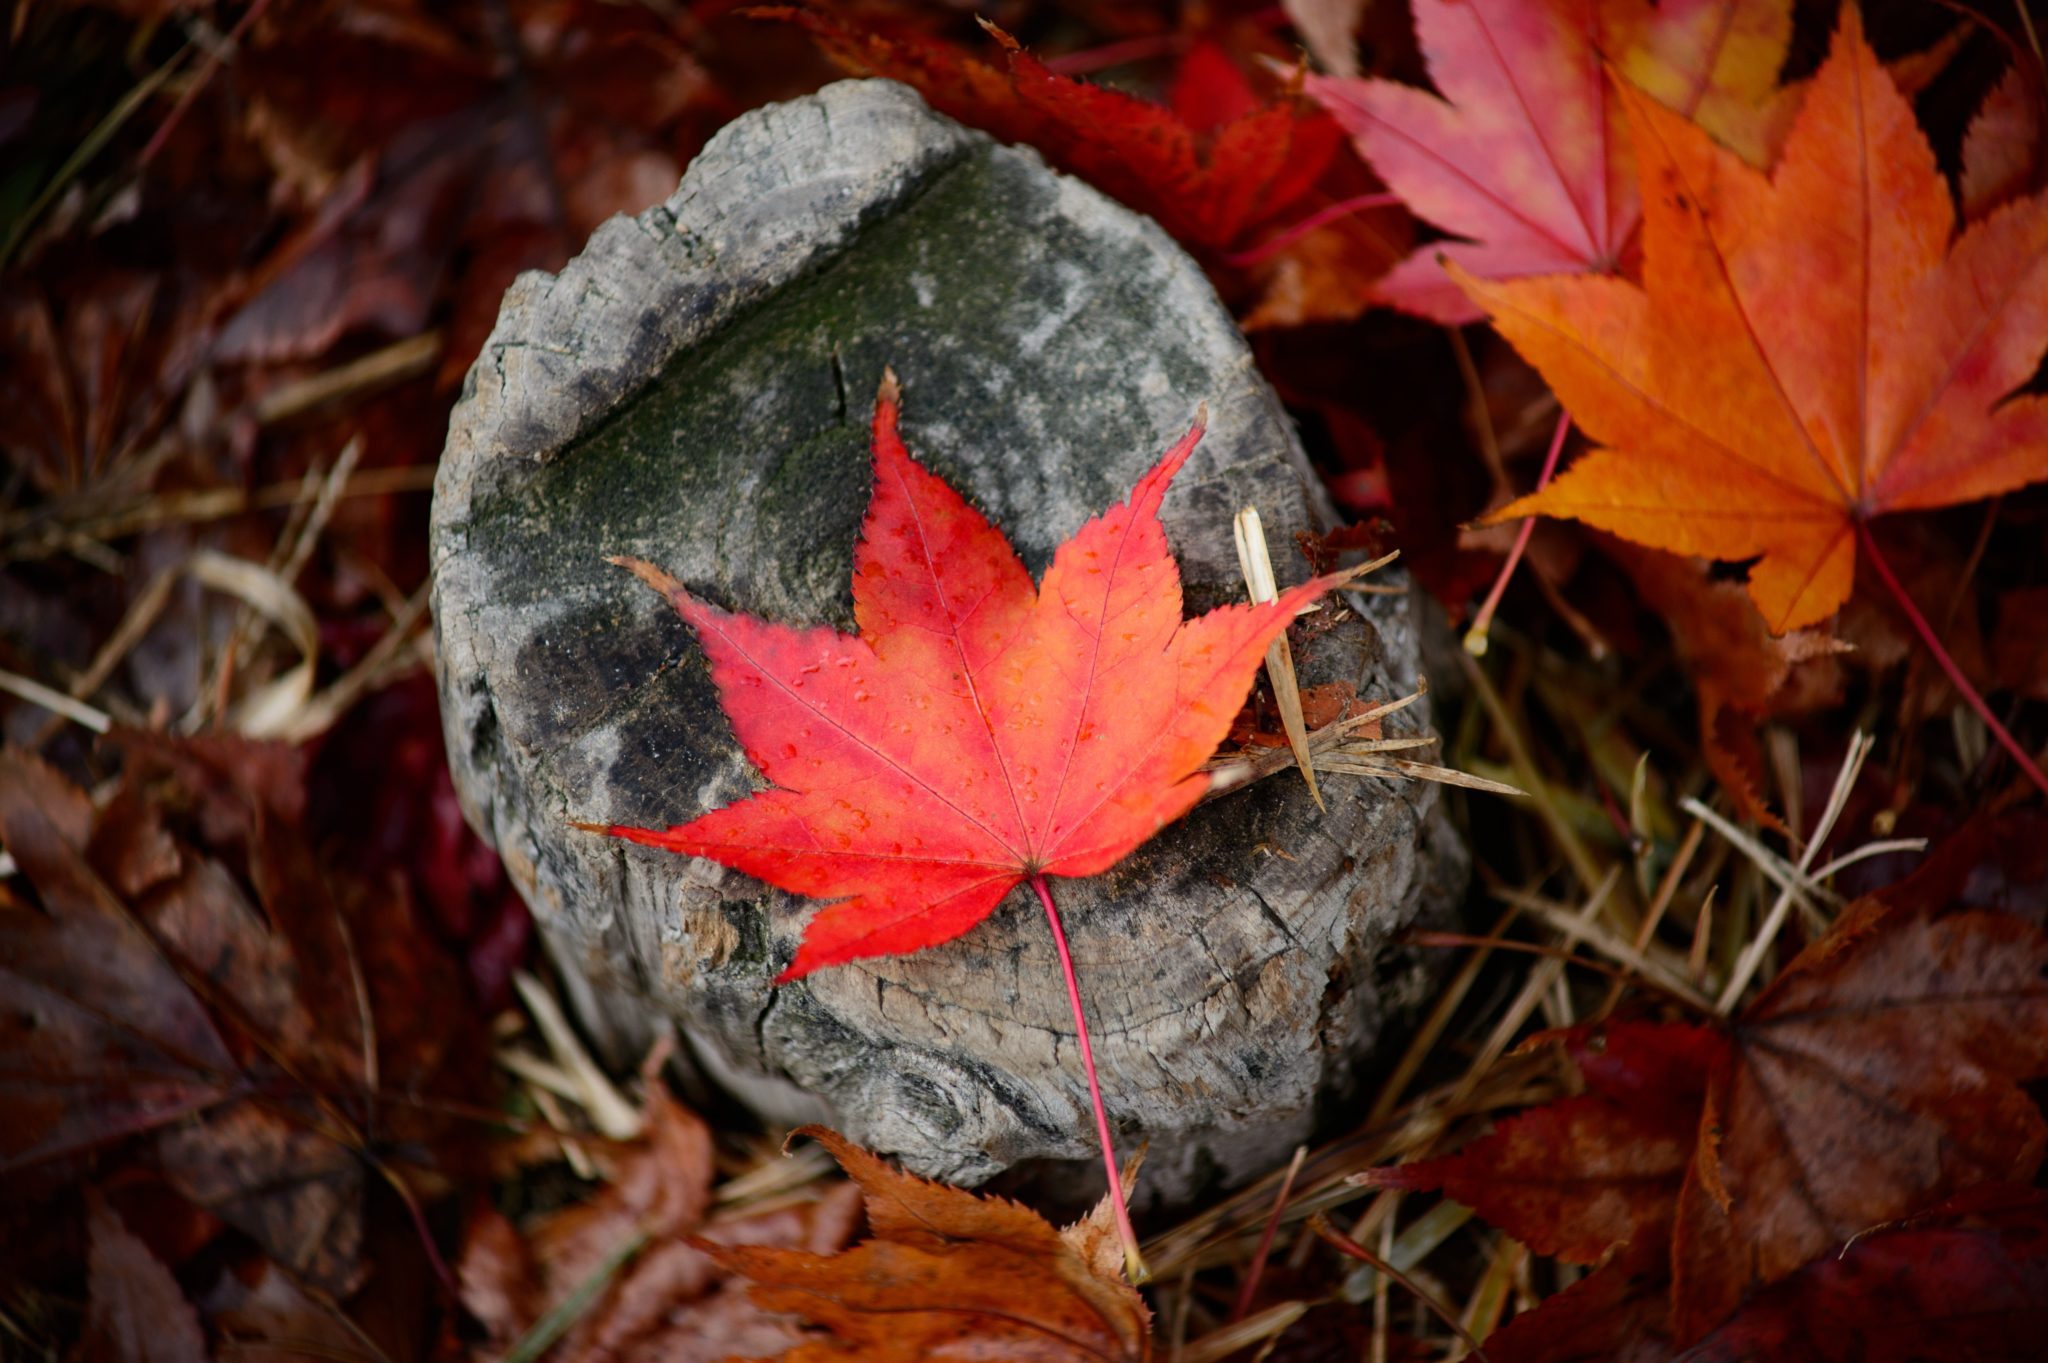
The easiest times to tell if you have a maple tree would be during late summer or fall when the trees leaves are around the tree base and easy to inspect closer. Keep in mind that the leaves will change color in the fall. Marking the tree somehow will help during tapping time! However, there are indicators in branches and bark. All maple trees have opposite branching. This means that where a branch comes out on one side, it’s exactly symmetrical on the other side. Not many trees have opposite branching in Eastern Iowa besides Green Ash trees so if you do find a tree with opposite branching, it is likely a maple.
- Sugar Maple: The Sugar Maple tree has the highest sugar to sap concentration of about 2-3%. These trees are the best to tap if available because it will take less time to boil down.
- Black Maple: Sugar content is similar to the Sugar Maple at around 2-3%. Leaves are distinctly “droopy.”
- Silver Maple: Sugar content is around 1.7%.
- Box Elder: Sugar content in sap is around 1.2% and is not recommended as a first choice for maple syrup because of the time committed to boiling and evaporation. However, it’s certainly possible!
Step two: Tapping
A good time to start tapping would be in mid-February. Typically, sap flows in Eastern Iowa from mid-February through mid-March. Sap flow is dependent on weather conditions and temperatures, which varies from year to year. For the maple trees’ sap to start moving, nights should be below freezing (32°F) and days should be above. Three to four days and nights above and below freezing in a row could result in sap dripping up to 90-100 drips per minute!
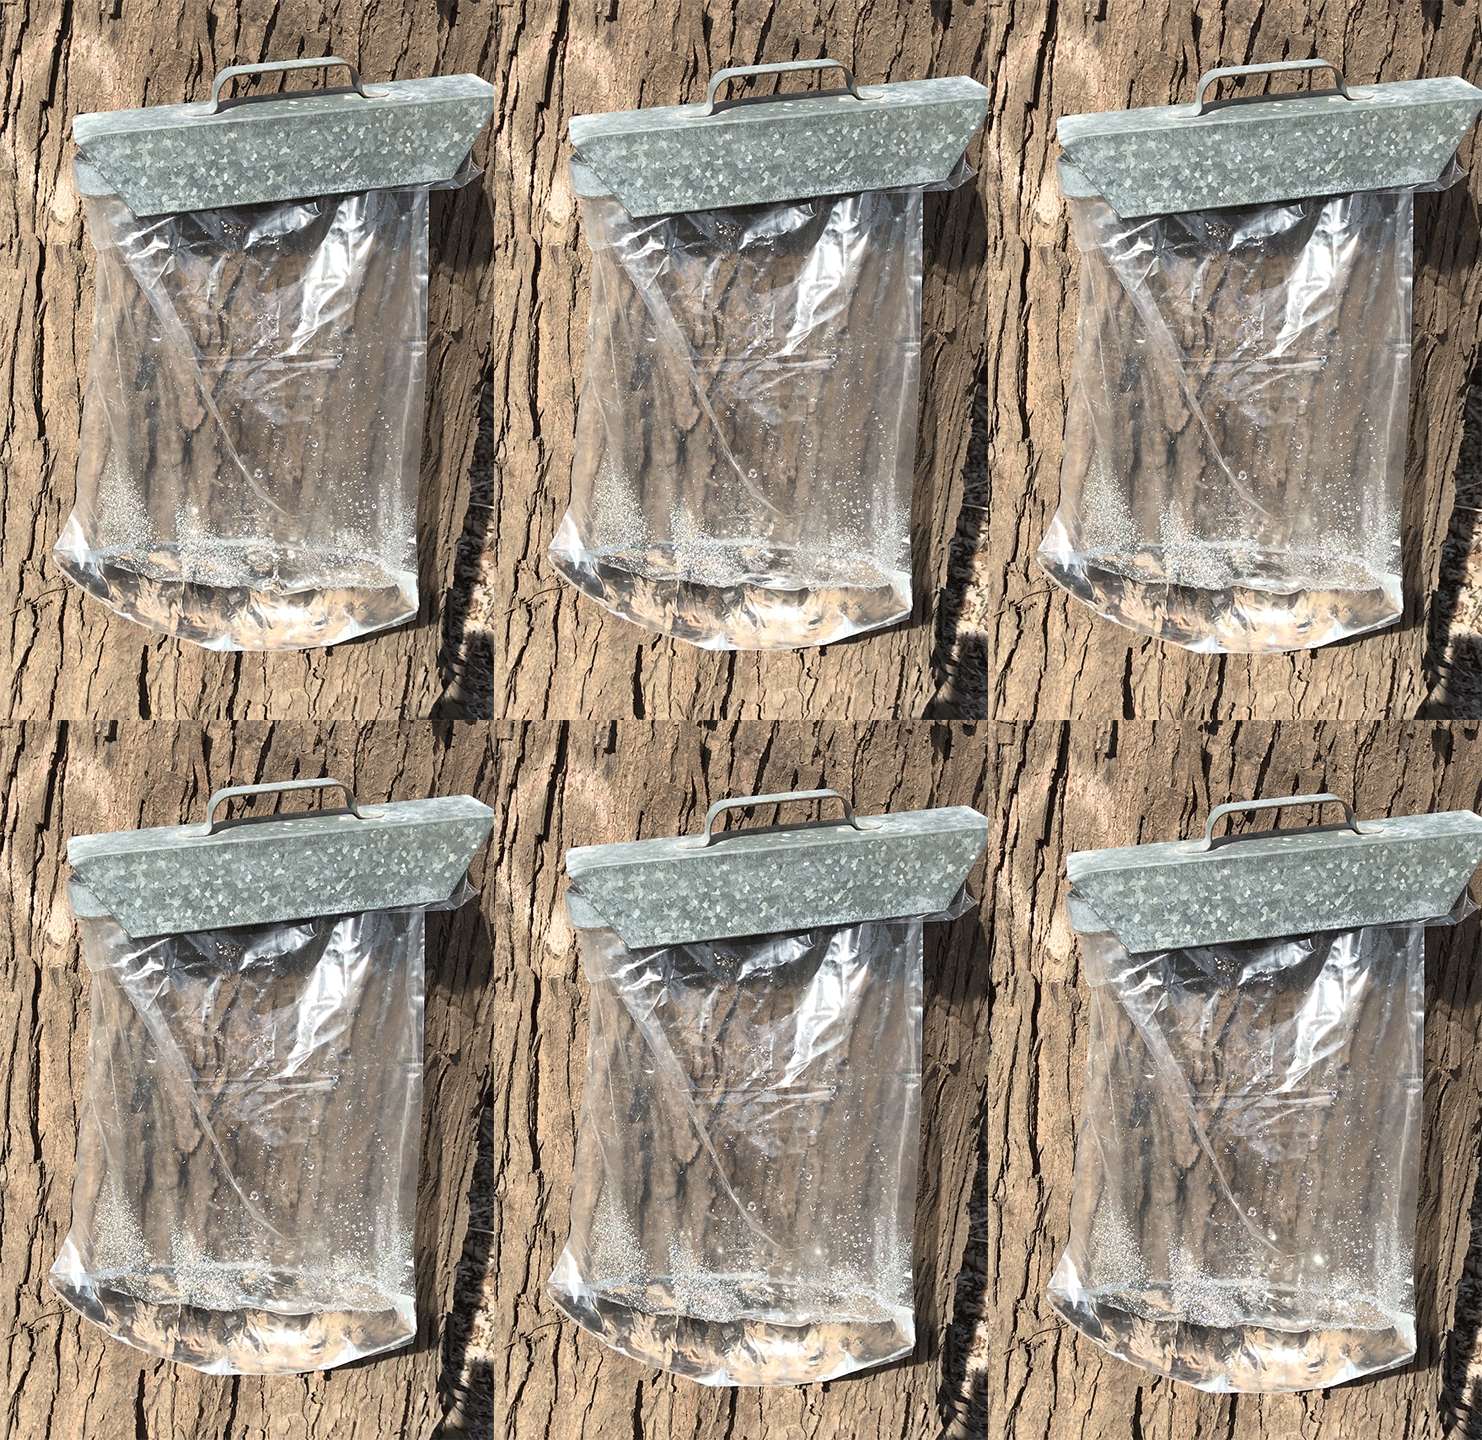
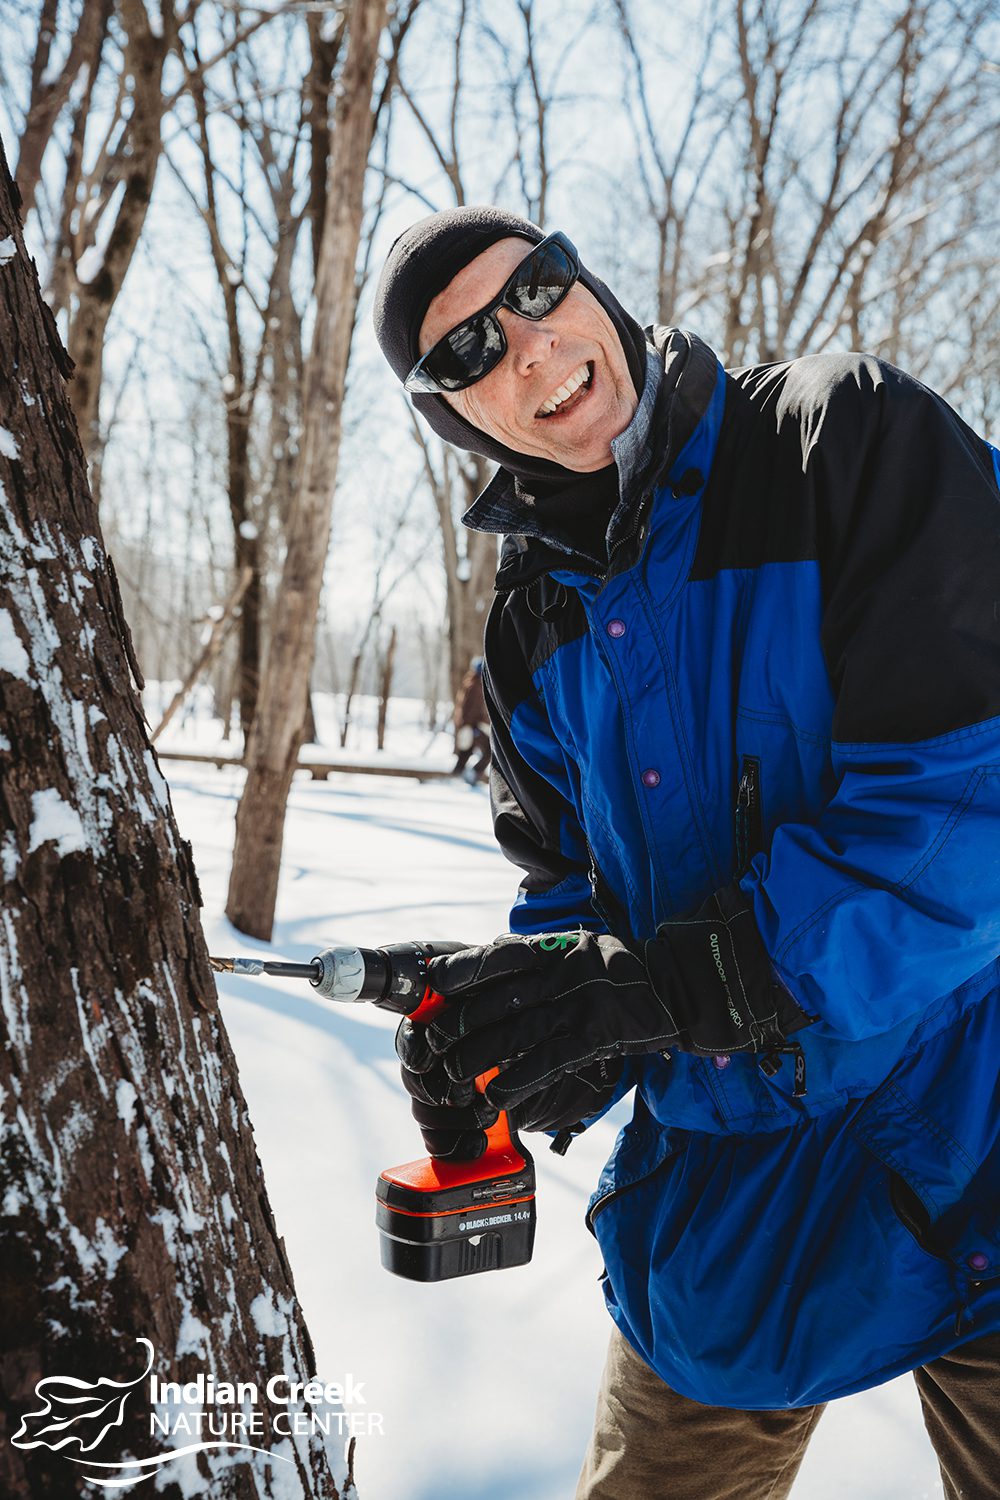
Use your drill to drill a small hole into the tree, then insert your spile and hammer it into the hole. Sap may or may not begin dripping right away, but make sure to have a clean, food safe container (like a bag or bucket) to collect your sap.
Once sap is flowing, collect the sap daily. Pour the sap from a bucket into a storage container using a cheesecloth to filter out any foreign material.
Store the sap at a temperature of 38 degrees F or colder and use within 7 days of collection to eliminate any possible bacteria growth.
How can I tell if the sap being produced is no longer good for making syrup?
Typically, once a maple tree’s buds have started to blossom, the sap is not longer good. If you already have a tap at that tree, you can taste the sap. If the sap tastes starchy like a raw potato, it’s no longer good. Good sap should taste like water with a little sweetness.
Step three: Boil the sap
To turn sap into syrup, you need to boil away the excess water.
In order to make ONE gallon of maple syrup, you will need 40 gallons of sap.
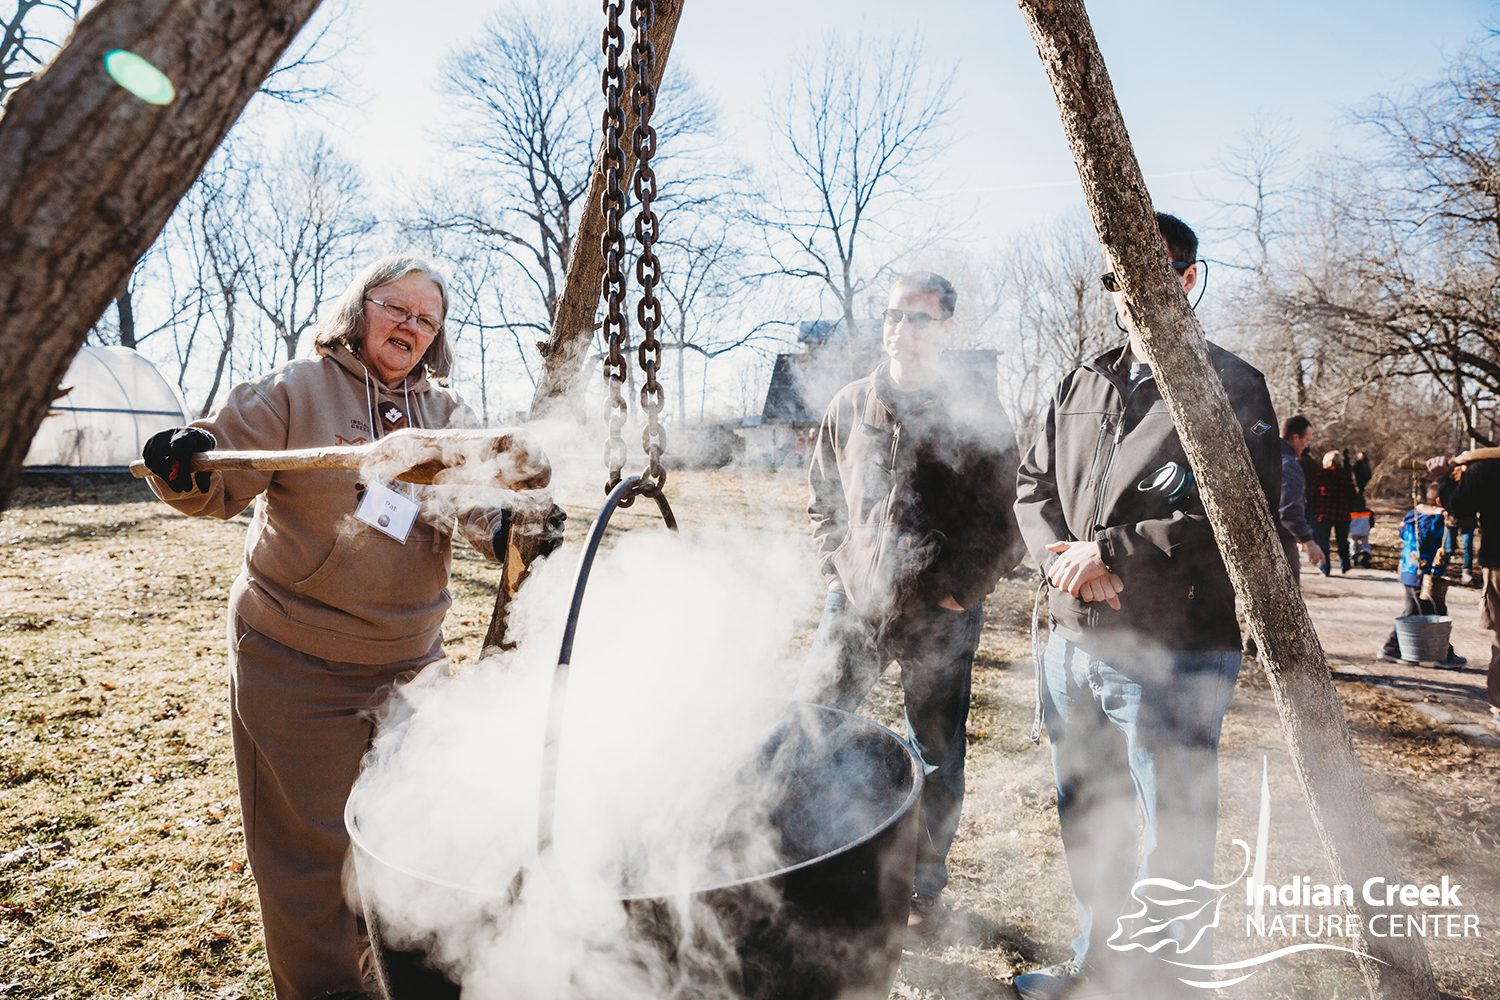
It’s best to boil your sap outdoors, due to to the large quantity of steam generated from boiling it. If you do boil indoors, be sure to make only small batches and ensure good ventilation.
Fill your pot 3/4 full of sap. Then place it onto a heat source. Once the sap starts to boil down to 1/4 – 1/2 the depth of the pot, add more sap but try to maintain the boil. Continue to boil the sap until it takes on a consistency of syrup. It is important to watch the boiling sap very closely as it approaches syrup, since it is more likely to boil over at this point. With a candy thermometer, finish the boil when the temperature is 7 degrees F above the boiling point of water.
Step four: Filter the syrup
A small amount of sediment will be present in your syrup and can be filtered out using a food grade filter (like a coffee filter, if done in small batches). After letting the syrup cool, pour a small amount into your filter, collect the top ends of the filter into a bunch, and press the syrup through the filter into a clean container (such as a measuring cup). Depending upon how much syrup is produced, this will need to be repeated several times (using a new filter each time).
You can also remove the sediment by allowing the syrup to stand overnight in the refrigerator, letting the sediment settle to the bottom.
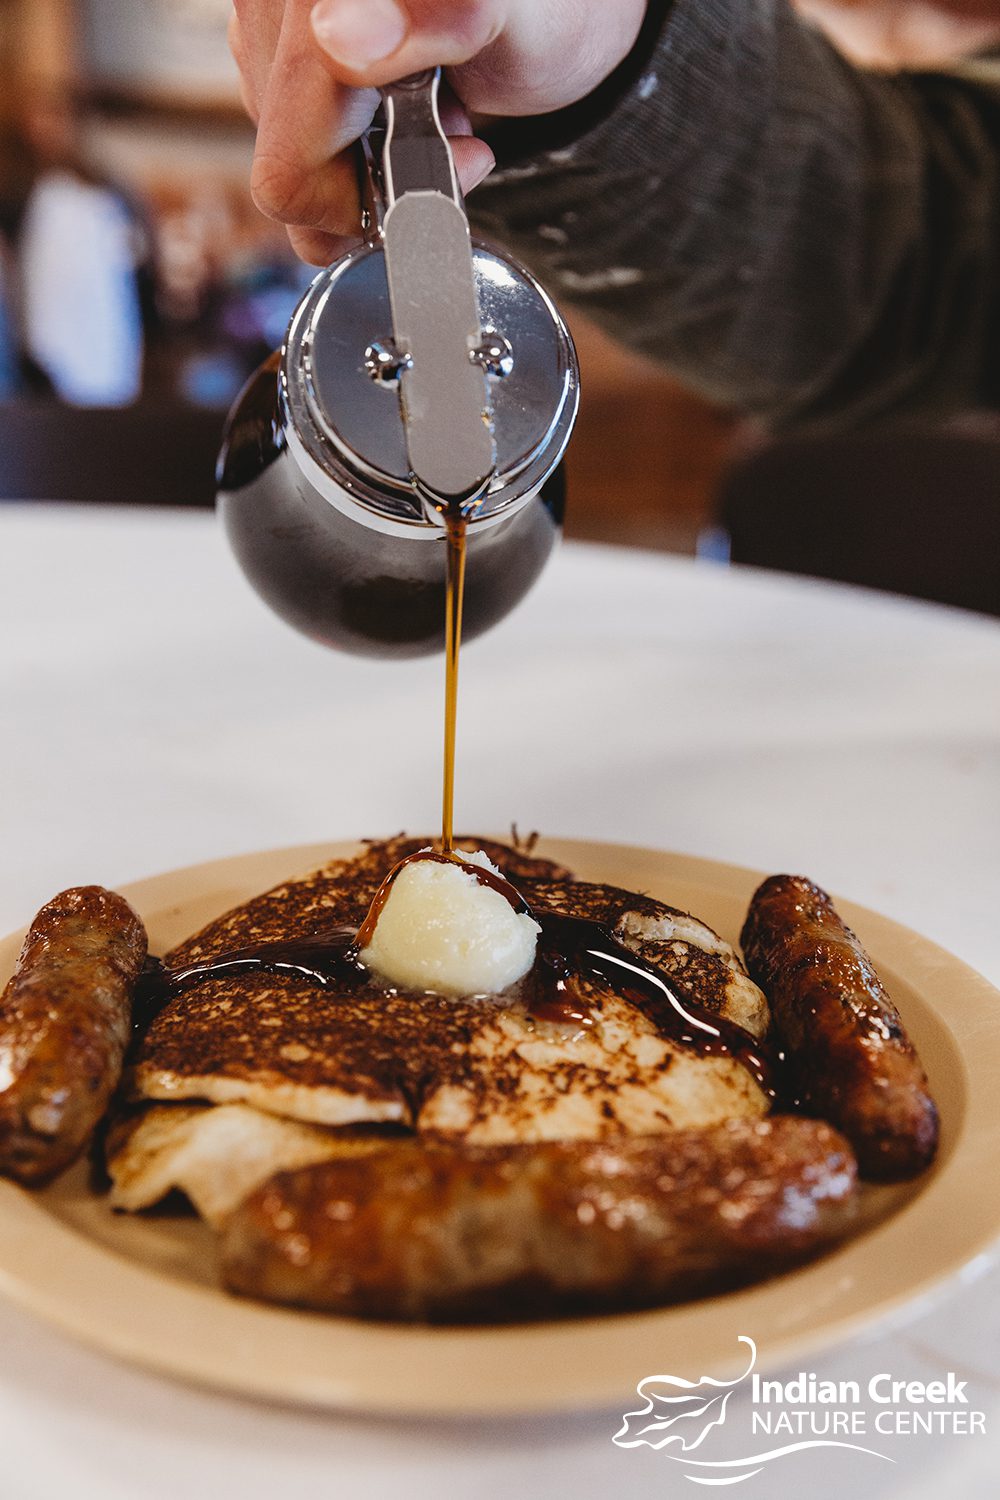
Step five: Bottle, serve and enjoy (or store for later)
Sterilize a bottle and cap in boiling water. Pour the syrup into the bottle, cap, and refrigerate. Refrigerated syrup should be used within 2 months. Syrup can also be frozen (in a freezer safe container) to extend shelf life.
Don’t forget to get your tickets to Maple Syrup Festival! Buy in advance and save.
Tickets are good for either Saturday or Sunday and are also available the day of the event.
Adults: $8 advance; $10 door; Children (4-12): $4 advance; $5 door; Children (3 & under): free

