Being a Tree Steward
Thank you for taking a vested interest in your young tree! With proper planting and care, this dynamic, living being should outlast the concrete sidewalks, the shingles on a home, and, in many cases, the home itself.
A tree is not only a functional, often aesthetic, piece for humans but a vital component of green infrastructure. Whether you’re inheriting a tree planted by someone before you or putting new roots in the ground, your time as its steward is crucial.
New trees often arrive at your home in a pot, a bag, a sack, or a box. It has likely lived in that space for its whole life, growing roots where it can and trying to keep up appearances of good health so it can find a more permanent residence. This is a toddler tree in need of structure, guidance, and tough love.
As it relates to planting, your tree may live for a short while simply plunked in the ground and given enough water. (It’s come this far in a tiny pot!) However, as the steward of this tree, you have the ability and responsibility to care for your tree following best practices to help it reach maturity.
Getting Your Tree Established
Before we get there it is important to understand the concept of establishment. This is the time between planting and when the tree can be mostly self-sustaining in its new environment. (Or in other words, your toddler is becoming an adolescent.)
On average, the establishment period is one year, plus one year for every inch of trunk diameter at the time of planting. A two-inch tree may need three years of post-planting care, a four inch tree would need five years, and so on.
During the establishment period, your tree is working tirelessly to regrow roots and merge with the surrounding soil. Those roots need to develop enough to support everything that is on top. Until that happens, you may see very little growth in the canopy. Please be patient! I have heard from (and witnessed) many people giving up on trees because it wasn’t growing fast enough. “Tree time” is a topic for another day, but expect establishment to happen very slowly. (This is also why I encourage planting tiny trees since they can reach this point of establishment significantly faster than larger trees.)
Planting a Tree in 9 Steps
Whether you’re planting small or large, below are the steps to promote long-term tree health and assist your tree toward maturity.
- Call 8-1-1. One short phone call can save you a lot of trouble. Take advantage of this free service to avoid hitting underground utilities. This is not only good practice but is also Iowa law.
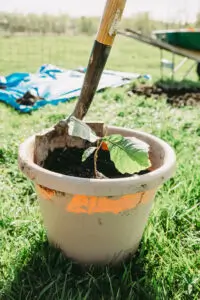
- Remove all of the packaging material (container, stakes, wrap, posts, etc.). The bamboo post that often comes with your tree is there to maintain a straight trunk in the pot. Since it is also lodged in the center of the root ball it may not contribute to holding your tree upright once it’s planted, and should be removed along with other packaging materials.
- Remove the tree from the pot. Find the root flare/collar by following the trunk downward until a visible ‘flare’ is present. At this juncture you may also notice a color/texture change between the bark of the trunk and the root tissue. That is your planting depth. Remove any dirt/potting mixture above that line. Do this before you dig to save yourself from extra work since the required depth may be far less than the container it came in.
- Inspect the root ball for circling roots and address by either making vertical cuts spaced around the root ball or using the box cut method. When I conduct tree planting demonstrations, this is the moment of shock and sad faces, understandably so. I can’t speak tree but I’m sure this process is agonizing, similar to a human undergoing surgery. This is your chance to be a surgeon for your tree and correct its structure for long-term health benefits.
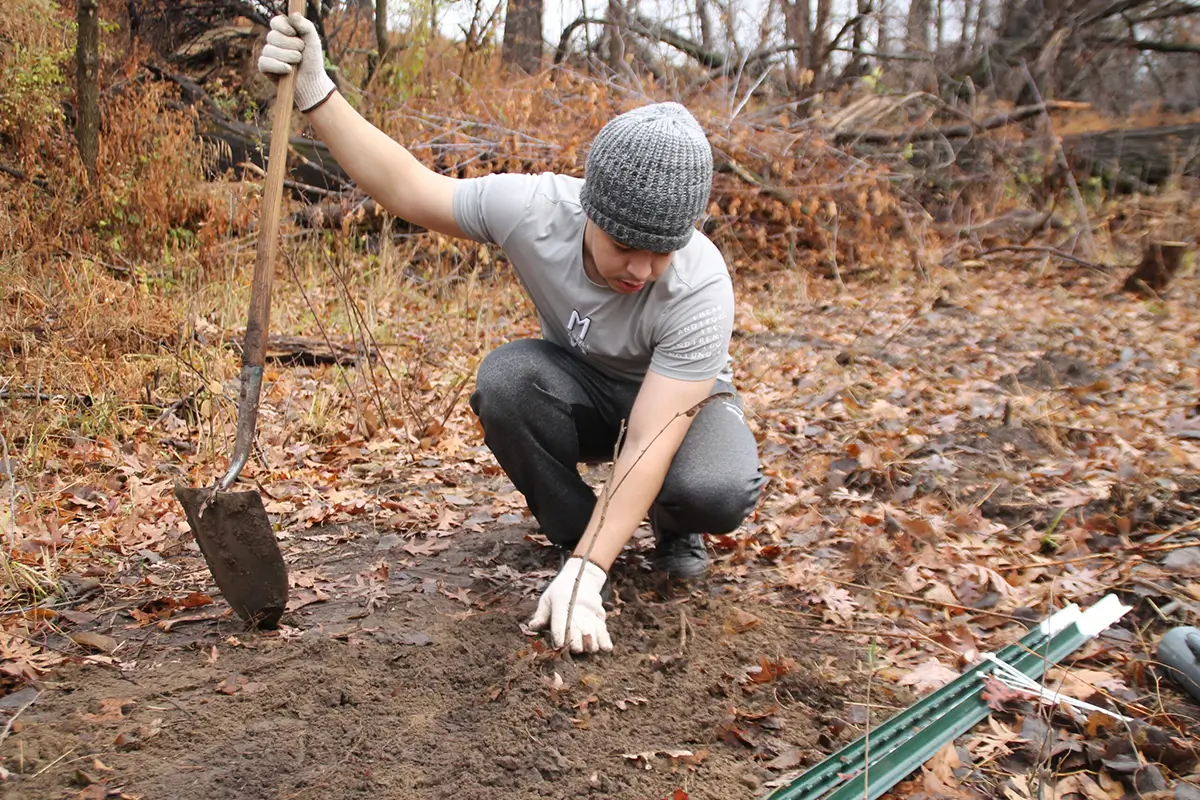
- Dig a hole to the appropriate depth and twice as wide as the root ball. Dig further out if you feel ambitious! The easier it is for those roots to penetrate the surrounding soil, the better for your tree.
- Place the tree in the hole and backfill with the same material that was removed. Refilling the hole with amendments like compost or bagged soil mixes can create another cozy environment for those roots to live. Practice tough love here so your tree can adapt to the surrounding soils.
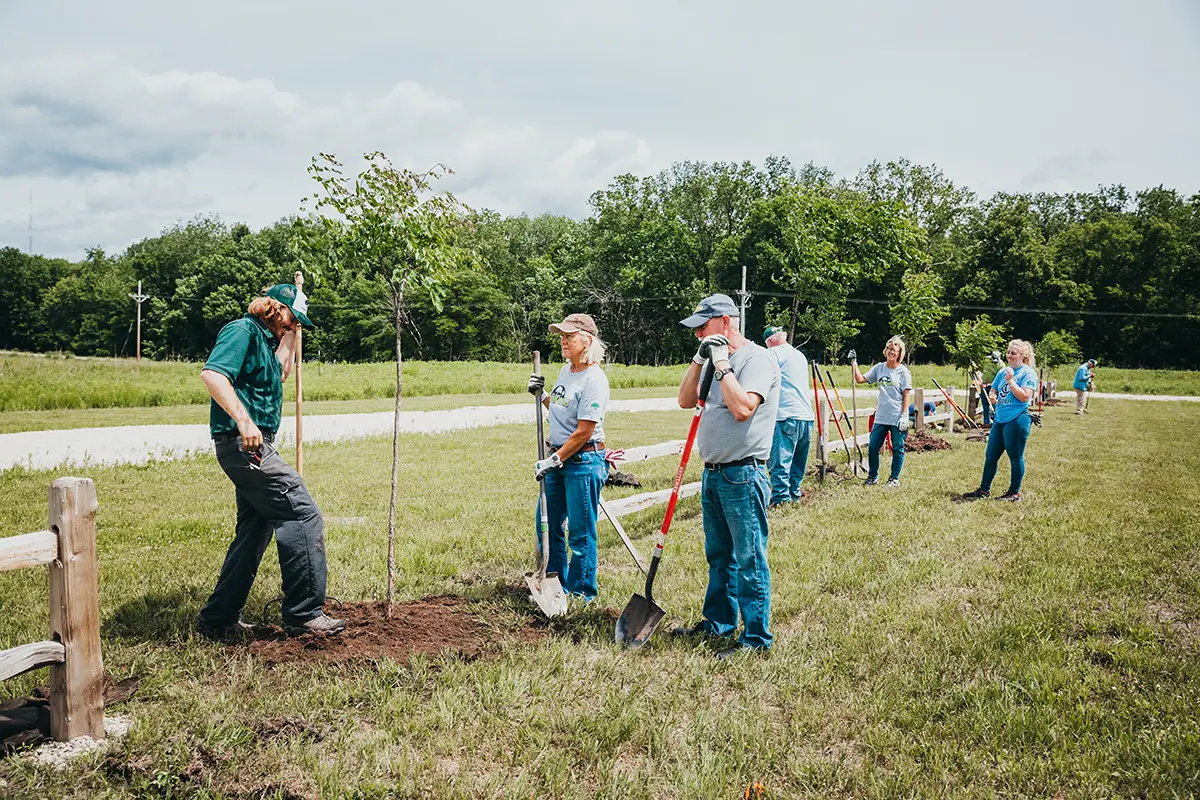
- If the tree can remain upright with no supports, great! If it needs to be staked, do so loosely. After one calendar year, adjust or remove the stake to prevent girdling.
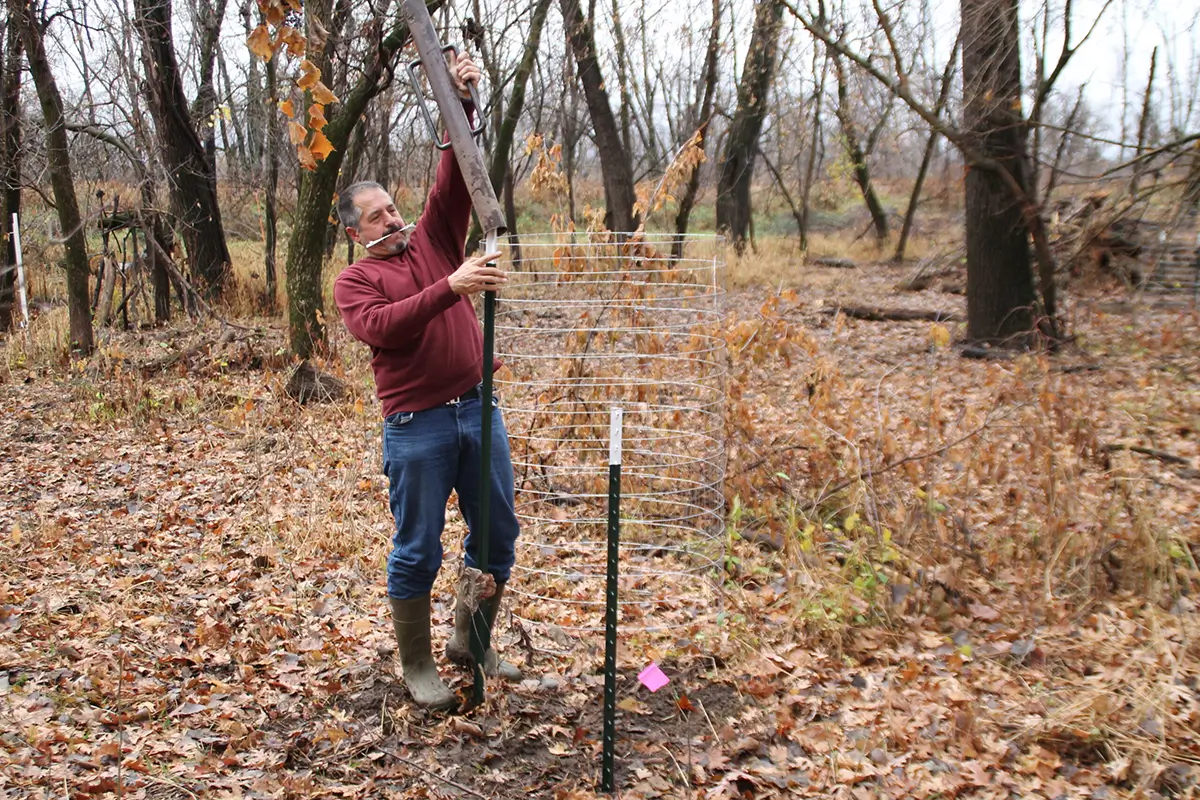
- Protect trees from deer with adequate fencing/tubing and from small rodents with either chicken wire or a large piece of tiling around the base of the tree. For deer, fencing five to six feet high will keep them from rubbing the trunk and nipping at the branch tips. A ring of mulch around the base will also help with protection and moderating soil temperatures. Make your mulch donut (not volcano!) with three inches of space between the mulch and the tree trunk.
- Remember to water! Your tree will need supplemental watering throughout the establishment period. A good rule of thumb is one inch of rain or 10 gallons of water each week for a one-inch tree. Mature and established trees may also need water in times of drought.
When planting, remember that this is a very young tree going through a stressful period. Structure, guidance, tough love, and patience will go a very long way in helping your toddler tree reach its full potential. In the end, the patience will be worth it as you (and the generations to follow) will be enjoying this new tree for many years!